
.jpg)

|
|
|
Slieve Bearnagh, GI/MM-004 - 739m ASL - J 313 280 - OSNI
Discoverer 29 - 8 SOTA points
So Tuesday 27th May 2014 was the day set aside for Jimmy and I to have a full day's walking in the Mournes. Of course, by making our own travel arrangements by overnight ferry, we had added two further such full days on the Saturdays at the start and end of the holiday. A full day meant that there was an extra duty to fulfil during the early morning preparations - make the flask of soup! Baxters Scotch Broth was the variety selected to accompany us on what looked to be a fearsome and formidable pair of mountains.
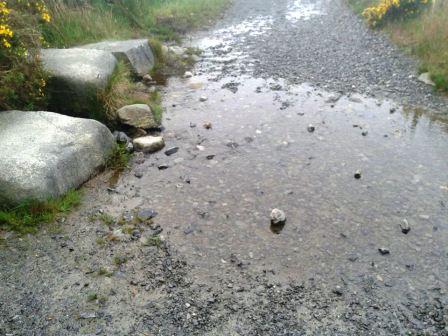
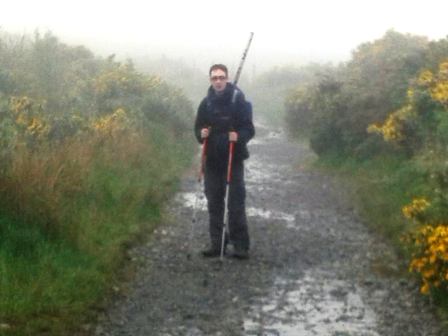
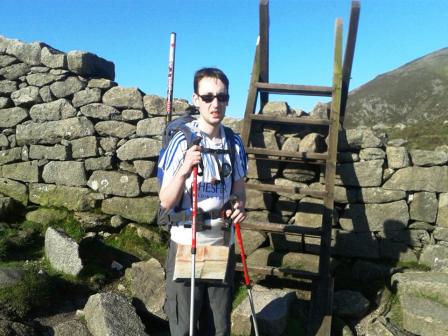
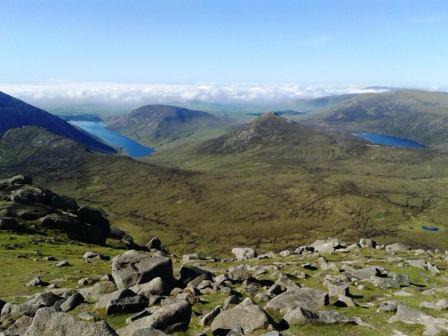
Really, we could, and perhaps should, have walked directly from our holiday cottage. However, I took the "Every little helps" attitude and parked by the entrance to the Ulster Way, on the Trassey Road at J311313, thus saving us half a kilometre of walking at each end of the day. I had been for a walk down this section of the Ulster Way with Marianne after dinner earlier in the week. On that occasion, the ford across the path was impassable in normal footwear, although I did get across via some stepping stones and one tricky move. But on this warm and sunny early Tuesday morning, Jimmy and I crossed with ease, and began to gain height on the Trassey Track as it started to gain height and wind its way around between Slieve Meelmore and Slieve Bearnagh GI/MM-004, our first target.
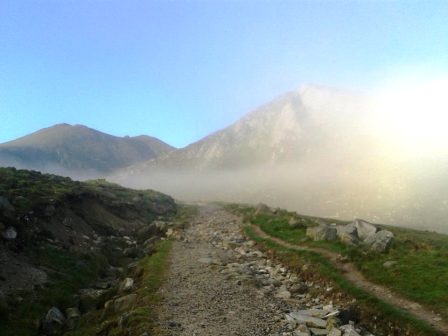
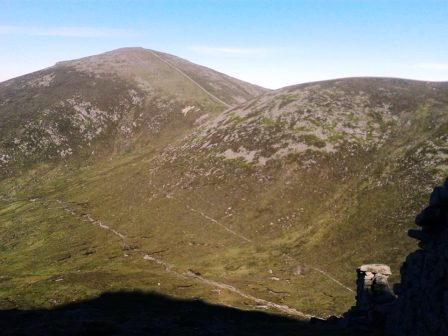
The main route on the ground was not marked on the map, but was well established as it passed through the disused quarry and clung to the lower flanks of Bearnagh on its approach to the Mourne Wall. As we reached the wall, which is the saddle between Meelmore and Bearnagh, we paused for consumption of energy-giving chocolate bars ahead of the steep final ascent.
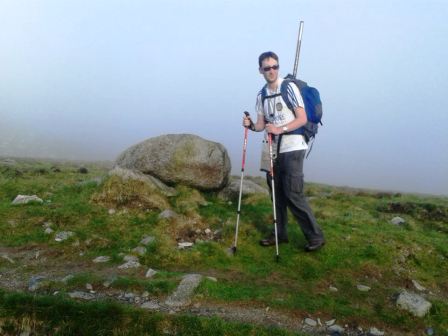
Before commencing that final ascent, we had a little explore around the saddle area. Jimmy had previously stated that he wanted to follow the Mourne Wall up part or all of Slieve Meelmore, before moving across to Slieve Meelbeg. I had expressed that I was not comfortable with all that unnecessary extra ascent, and was sure there would be a route on the ground between the two saddles, even if not mapped. As we hunted around the area, we did indeed find a connecting path, and made a note of this for later.
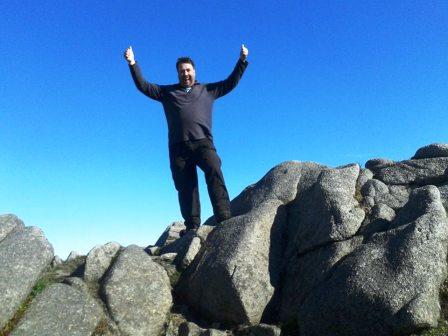
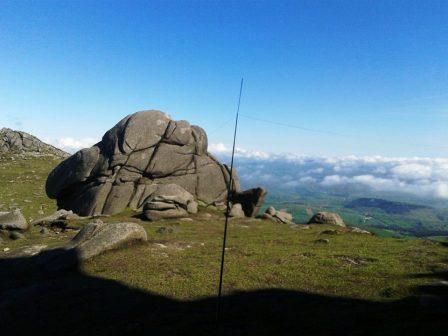
For now though, it was steeply uphill, on the fearsome slopes of Slieve Bearnagh. This was jolly hard work, and we must have chatted and rested for a good 45 minutes once in the summit area, before thinking about setting up for radio. In fact it was probably important that we did so. From the map, it appears that the summit is the 739m spot height on the corner of the Mourne Wall. However, close by is a large craggy tor which is somewhat higher. Of most concern, was a 710m contour that appeared, on the map, to pass between the Mourne Wall corner and the crag, meaning that whichever was the summit, the other couldn't be in the activation zone!
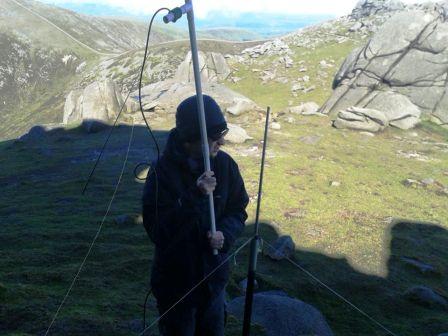
Well, in fact, while I was up there, I was absolutely convinced that there was nothing like 25m of drop between them, and that both were comfortably in the activation zone. However, the crags were definitely higher, so I set up at the base of one of these, around 10m vertically above the plateau, to be absolutely sure.
With 12m being unreliable, I was now using the SOTAbeams EFHW with Micro Z tuner as the system of choice. I did get the multiplier though. My activation comprised 3 QSOs on 12m CW and 4 on 40m CW. Jimmy fared batter, recording nine 2m FM contacts.
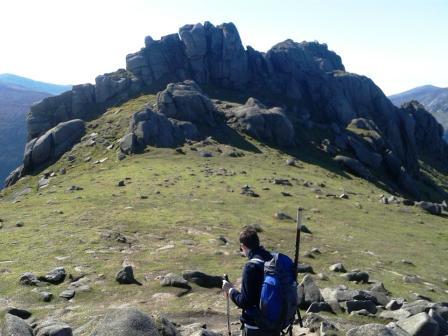
Before descent, Jimmy decided to try and attain the true summit. He clambered up a large sloping slab onto the next level and explored around the back of the crags. He returned later to say that he had got to within 2 or 3 metres of the true summit, but that the final approach would have necessitated some rather steep scrambling, so decided against it. The next section - the steep descent back to the saddle - I was not looking forward to one little bit. However, moving slowly, carefully and consideredly, we worked our way back to the saddle and began to follow the earlier identified connecting path on our way to Slieve Meelbeg GI/MM-005.
|
|
|